- Setup
- Bank
- VAT
Set up your Sumly account and company
Create your Sumly login, add your company as an organisation, then work through the four setup steps: plan, invoice details, bank and VAT status.
 Sumly team
- Published
- 2:52 video
On this page7 sections
Sumly needs two things before it can work for you: an account you sign in with, and an organisation that holds your company's books. Take care with the dates and VAT details you enter along the way. They shape every figure that follows, and some of them can't be changed later.
Create your account
The sign-up page, headed "Create your account", asks for three things: Name, Email and Password. Use an email you'll still have in three years. You sign in with it, and a verification email lands there as soon as you click "Create account".
Create your company
A new account has no companies yet, so "Your organizations" opens on an empty screen with one "New organization" card. Click it and the company form appears under "Get started".
Enter the company's legal name and its Registration number. That's the HE number the Registrar of Companies gave it. Tax identification number is the only optional field, so add it if you have it and move on if you don't.
Then set the dates. Incorporation date and Accounting start date are separate required fields, and they aren't always the same day. A company registered last week usually sets both to the same day. A company that has traded for a year sets the accounting start date to the day its books begin in Sumly, not the day it was incorporated. Financial year start month defaults to January, so change it if your year doesn't end in December. Check all three, then click "Create organization".
Choose a plan
Creating the organisation opens a four-step checklist. Step one is "Select a plan", with a line underneath saying you can switch or cancel anytime.
Base is €39 a month, and you run the company's accounting yourself. Premium adds a Sumly certified bookkeeper. What matters most is who submits each return. On Base, Sumly prepares it and you submit it. On Plus, Sumly files every return except the year-end accounts. On Premium, your Sumly certified bookkeeper submits it. Confirm with the plan's "Get started" button, such as "Get started with Base". You can change your plan and add-ons later, and that has its own walkthrough.
Add the details that print on your invoices
Step two is "Add invoice details". The screen describes it as "The logo, address, and contact info that appears on your invoices." The fields are Phone, Email, Website, two address lines, Postal code, City and Country. The drop zone underneath takes your logo as a PNG, JPG or SVG of up to 5 MB. The logo becomes your invoice letterhead and sits on every invoice you send from Sumly. Once it's uploaded, a bin icon lets you remove it.
Cyprus also expects some of these details on an invoice. Before you send anything real, check it against our guide on what a Cyprus VAT invoice must contain.
Connect a bank
Step three is "Connect your bank accounts". The line under the heading gives the reason to do it: "We synchronize your transactions and reconcile them against your books automatically." Click "Add a new account" and a dialog lists the banks Sumly connects to, with a note that "You'll be redirected to a secure authentication with your bank."
The list is Bank of Cyprus, Eurobank, Eurobank (former Hellenic), Alpha Bank, Revolut Business and Wise. Pick yours and sign in at your bank. You authorise the connection there. You never type your bank login into Sumly. Come back and add more accounts whenever you like. If you haven't opened an account yet, our guide on opening a Cyprus business bank account covers that.
Set your VAT status
Step four, "Setup VAT", asks whether the company is registered for VAT and says why it wants to know: "Add your details to get automatically generated VAT returns."
Go slowly here, because the step opens with "Not VAT registered" already selected. Choose "VAT registered" and the rest appears: VAT ID, First return month and Return frequency, with a "VIES registered" toggle below them. The toggle is off by default, so a company that sells to businesses elsewhere in the EU has to turn it on itself.
If you're unsure whether you need to register at all, read VAT registration in Cyprus. For the toggle, read what VIES is and when it is due.
Where you land
Finish step four and you see "You're all set", with all four steps ticked. The screen has a 90-second introduction to Sumly and three ways on: "Go to the dashboard", "Send your first invoice" and "Book a free onboarding call".
Common questions
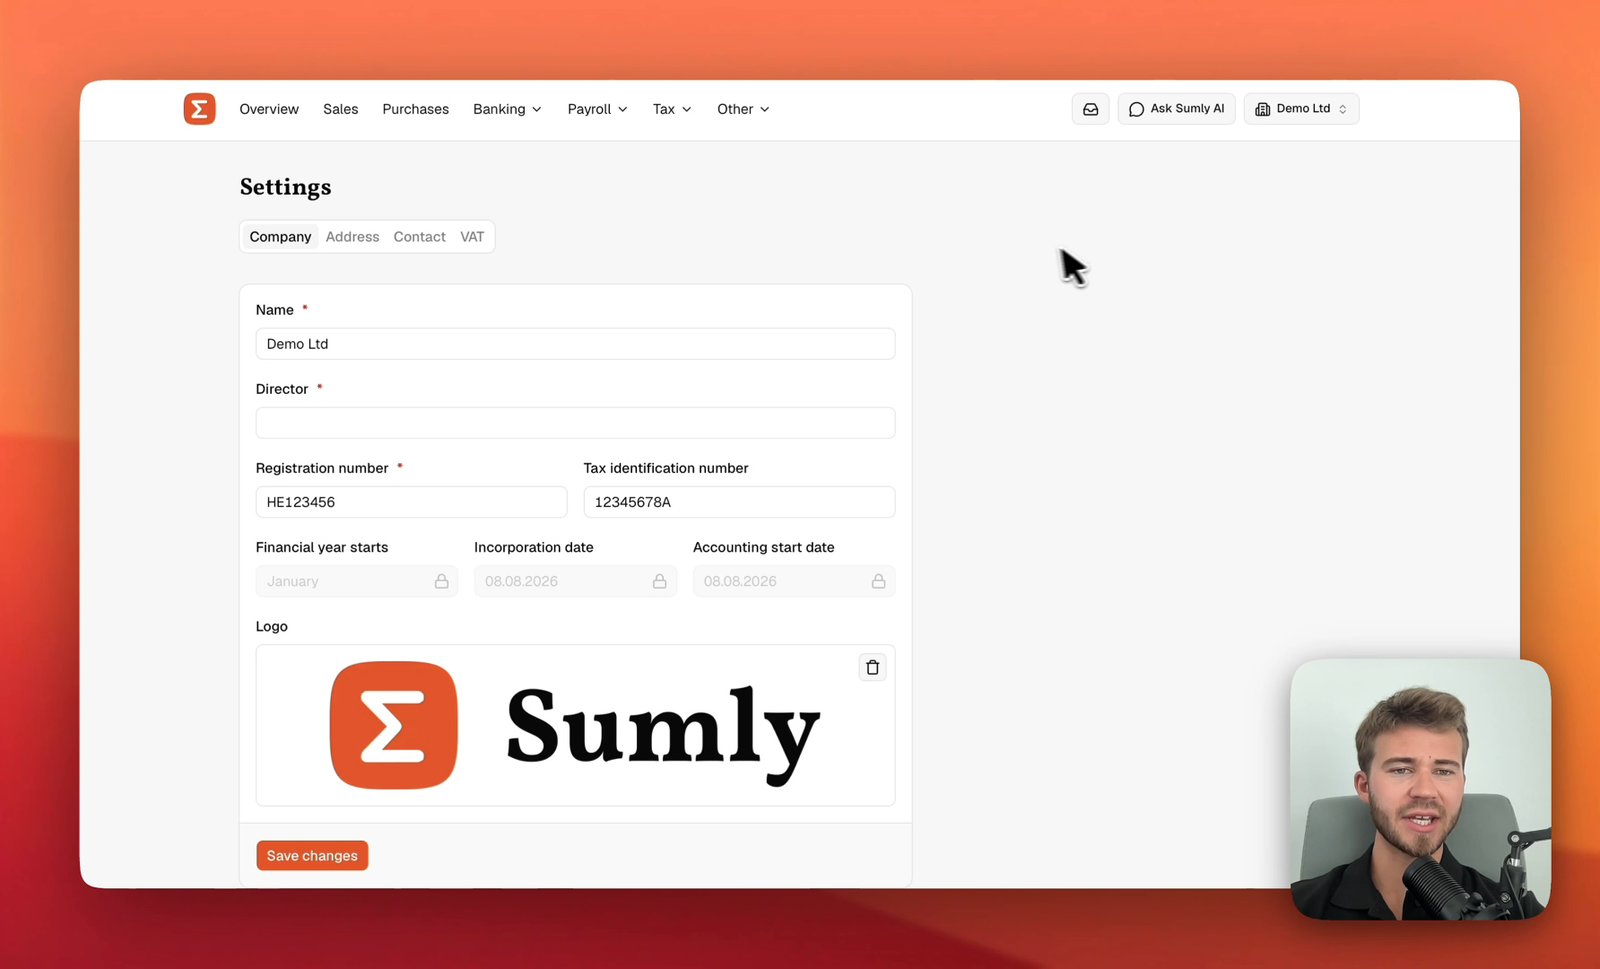
Once sign-up is done, two things deserve a second look: the address on your invoices, and the parts of your VAT status you can still change. Both live in your company settings. Company details, address and VAT status shows you how to edit them.
More tutorials.
 0:42
0:42- Setup
- VAT
- VIES
Company details, address and VAT status
Set your company details, address, contact and VAT status in the four Settings tabs behind the organisation switcher. Do it before you enter a transaction.
Sumly team0:42 video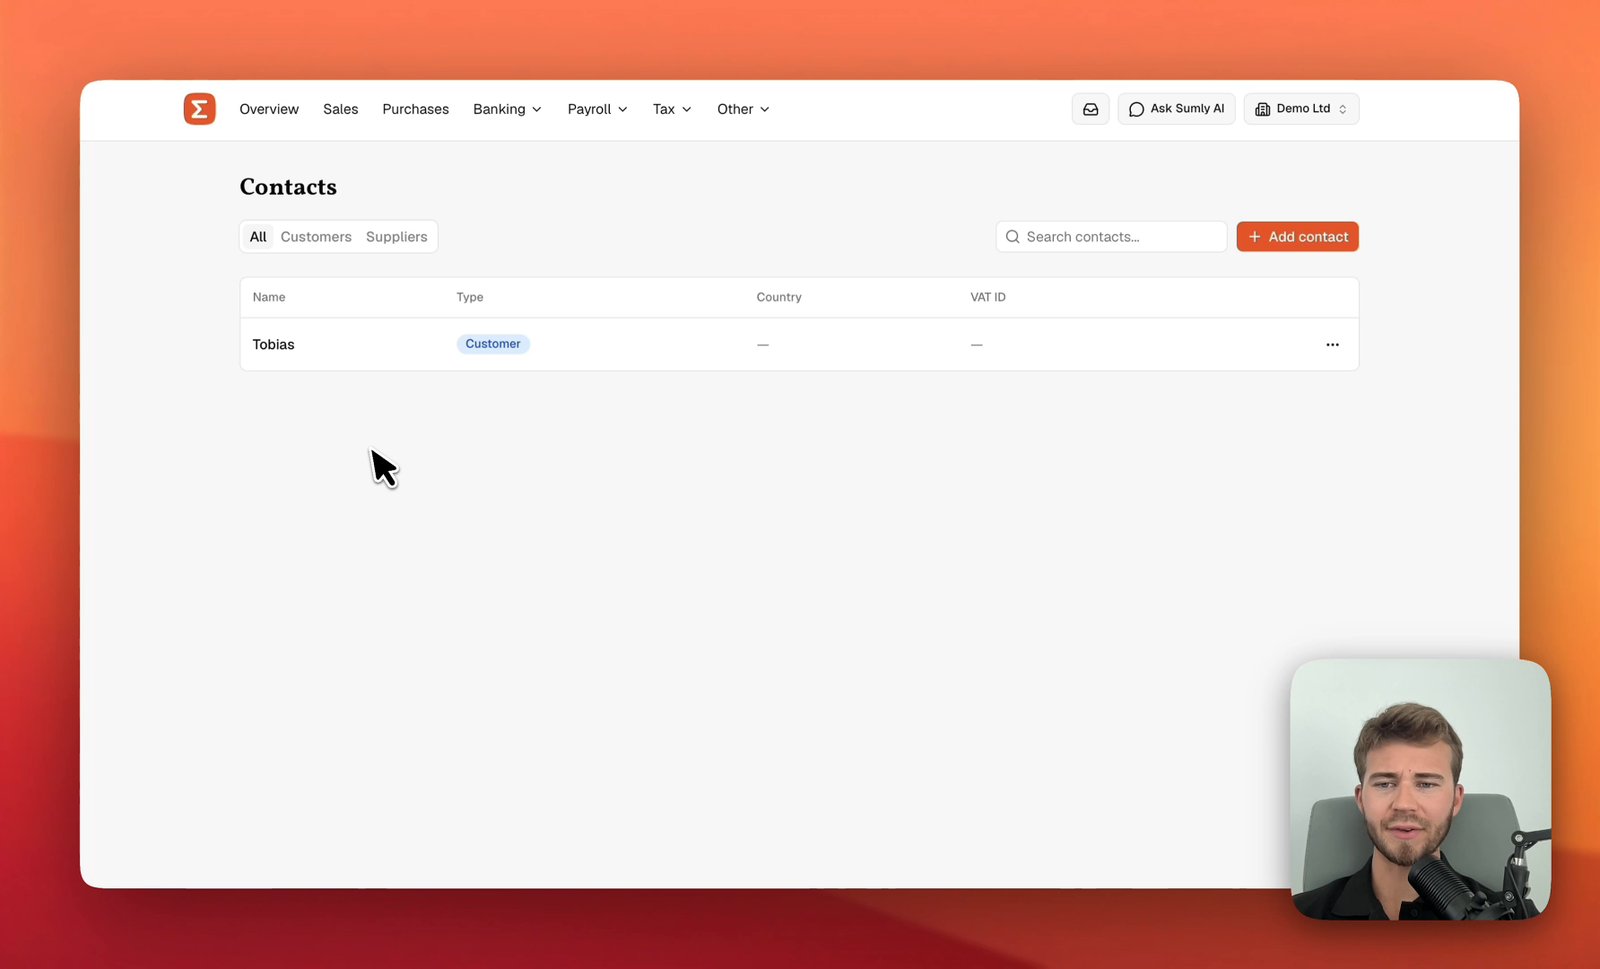 0:41
0:41- Setup
- Bookkeeping
Add a customer or supplier
Add a customer or supplier to Sumly's Contacts list, with its VAT ID, address and the defaults that carry onto its documents, then edit or archive it later.
Sumly team0:41 video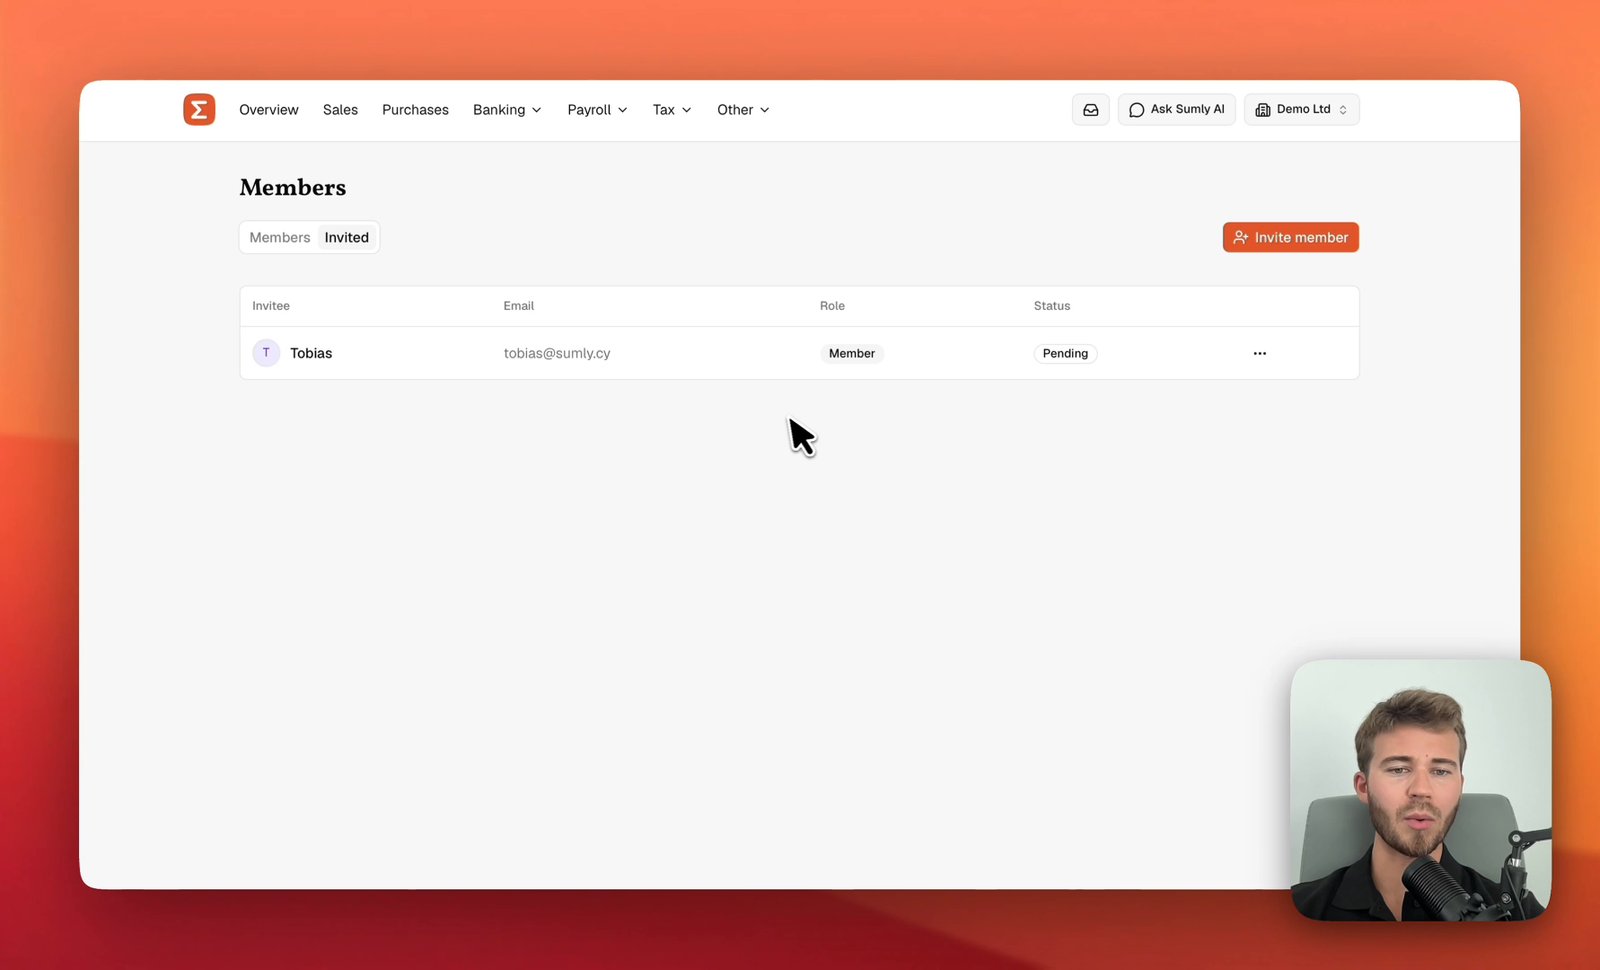 0:53
0:53- Setup
Invite your team into Sumly
Invite a co-founder, a colleague or your outside accountant to your Sumly organisation by email, choose the role they get, and track the invite.
Sumly team0:53 video
Ready when you are.
Start a new company, or bring the one you already have.